Your Notiondesk help center is built from one Notion page: the root page. Every article, collection and language under it becomes part of your help center. This guide shows you how to connect your Notion workspace, choose the right root page and fix the mistakes that most often block the setup.
Before you start
- A Notion account with access to the workspace where your help center content will live.
- A few minutes to go through the three setup steps: Duplicate our Notion template, Connect to Notion and Select the page.
What is the root page?
The root page is the top page of the Notiondesk template once it sits in your workspace. It's usually named "Notiondesk Template" and holds the three databases your help center runs on: Articles, Collections and Languages.
Notiondesk reads everything from that page down. That's why it's the page you share during the connection and the page you select at the end. A page inside it, such as the Articles database, a collection or a single article, can't be used as the root.

Step 1: Duplicate the Notion template
- In the setup screen, open Duplicate our Notion template.
- Click Duplicate Notion template. The template opens in Notion.
- Duplicate it into the workspace where you want to manage your help center.
- Back in Notiondesk, continue to the next step. If you already have the template in your workspace, click Already duplicated? Continue.
Step 2: Connect to Notion
- Click Connect Notion page. Notion opens its access screen.
- Select the Notion workspace that contains the template.
- When Notion asks which pages to share, check the template page (for example, Notiondesk Template).
- Click Allow access.
Notiondesk only sees the pages you share on this screen, so the rest of your workspace stays private.
Step 3: Select the root page
Once you allow access, you land back in Notiondesk on Select the page.
- Click the Notion page field. You can type the page name to filter the list.
- Pick the template page itself, Notiondesk Template, not one of the pages listed under it.
- Click Confirm the page.
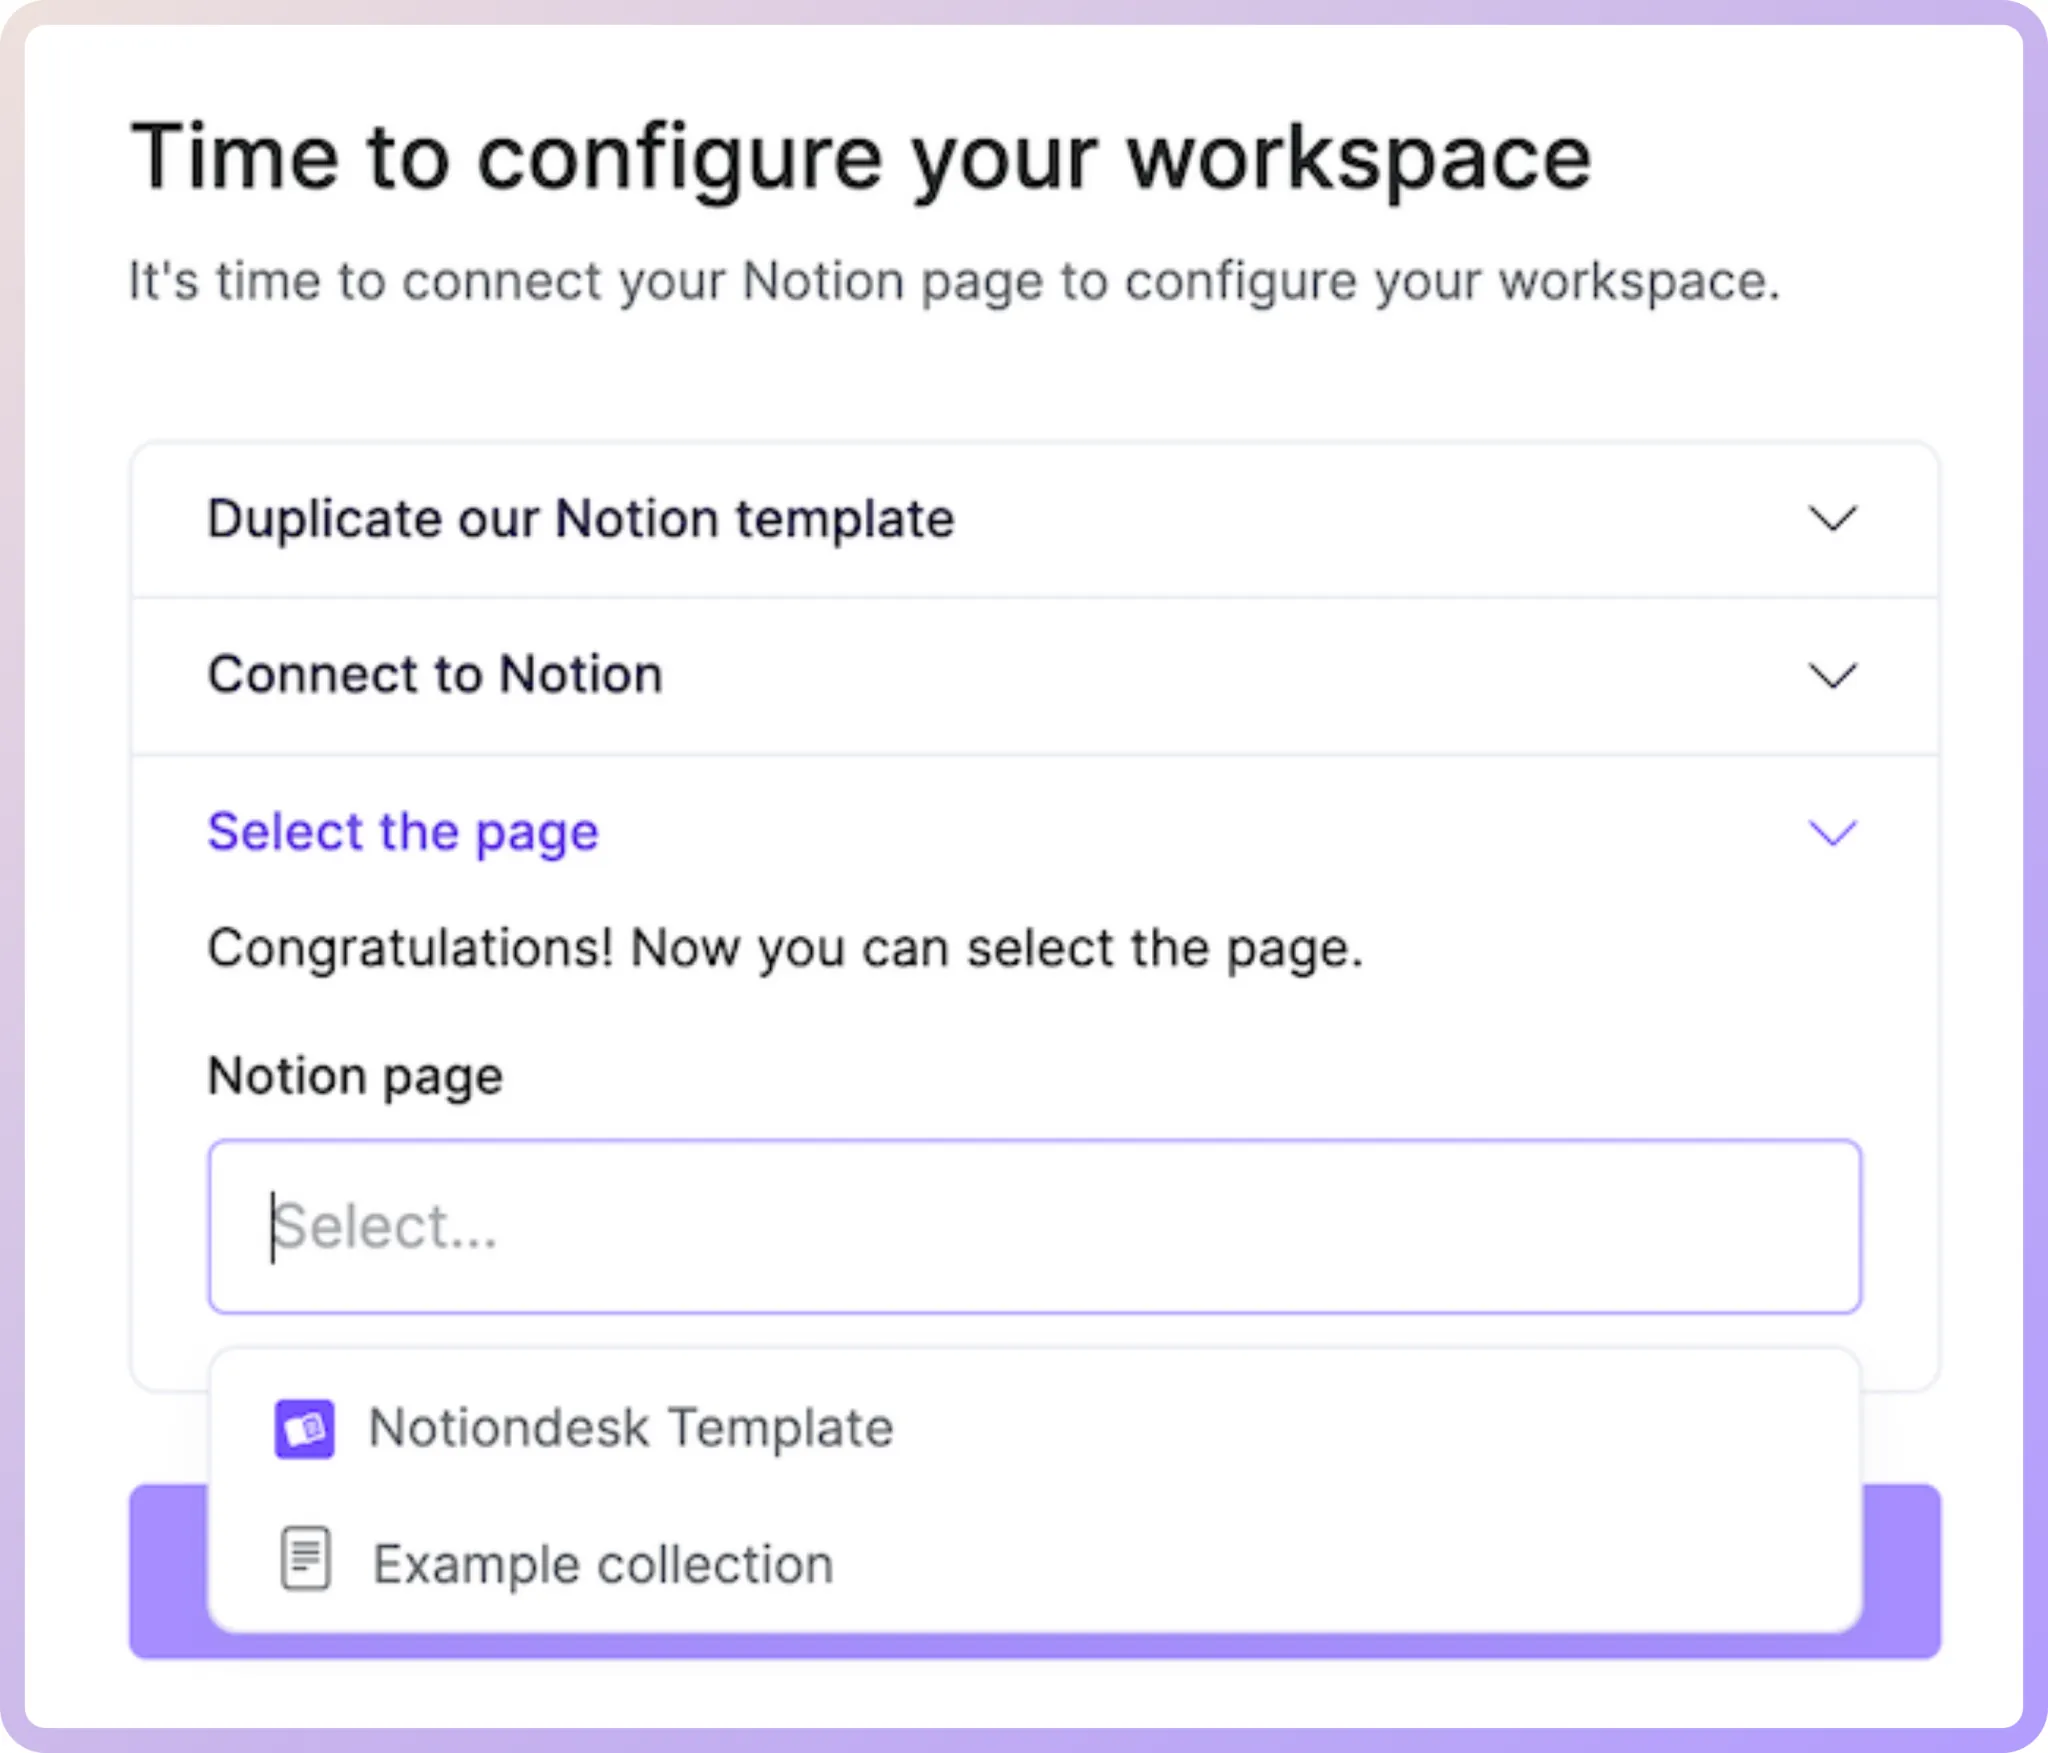
That's it. Your help center is now linked to Notion, and the changes you make in the template sync to your help center. To control when updates go live, see How to synchronize your help center with Notion?
Change the root page later
You can point your help center to another Notion page at any time.
- In your dashboard, open Settings and go to the Notion sync section.
- Under Notion, click the name of your connected workspace to open its menu.
- Click Change connected workspace.
- Choose the Notion page Notiondesk should use as the root of your help center.
- Click Confirm page.
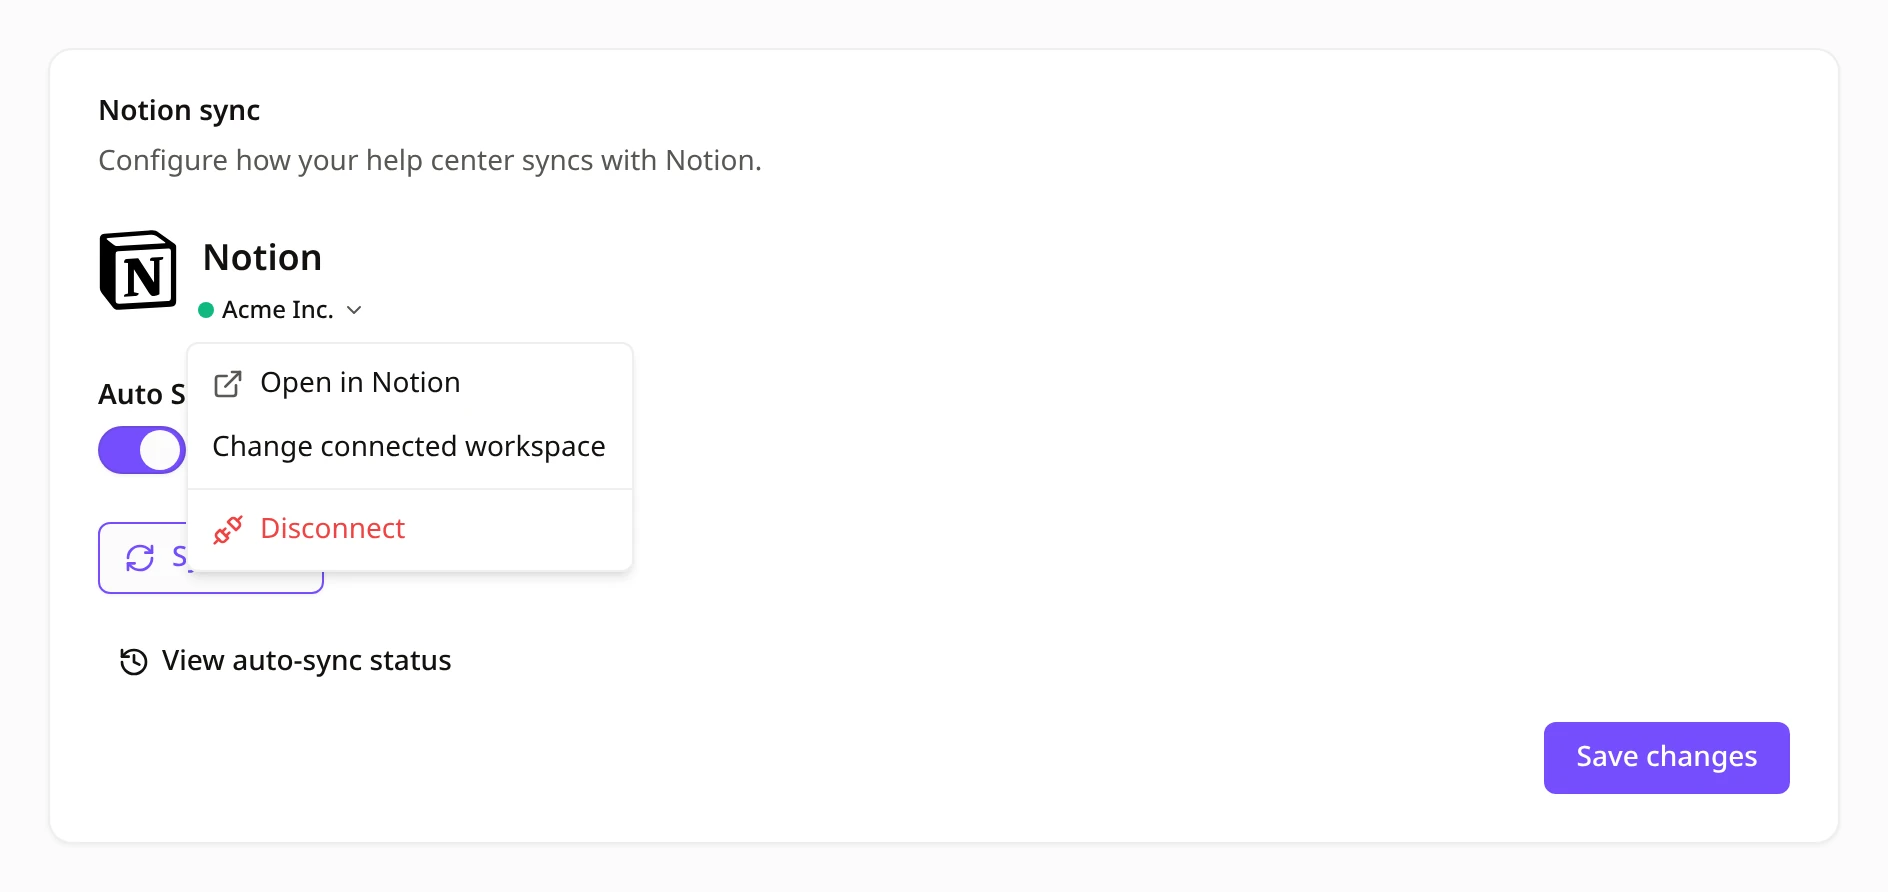
The same menu also has Open in Notion, which jumps straight to the page that's connected right now, and Disconnect. If the connection ever needs fixing, a Reconnect Notion button appears in the section instead, and Change connected workspace comes back once you reconnect.
Common mistakes and how to fix them
A page inside the template was selected
"The selected page is invalid. Please use a page from the Notiondesk template."
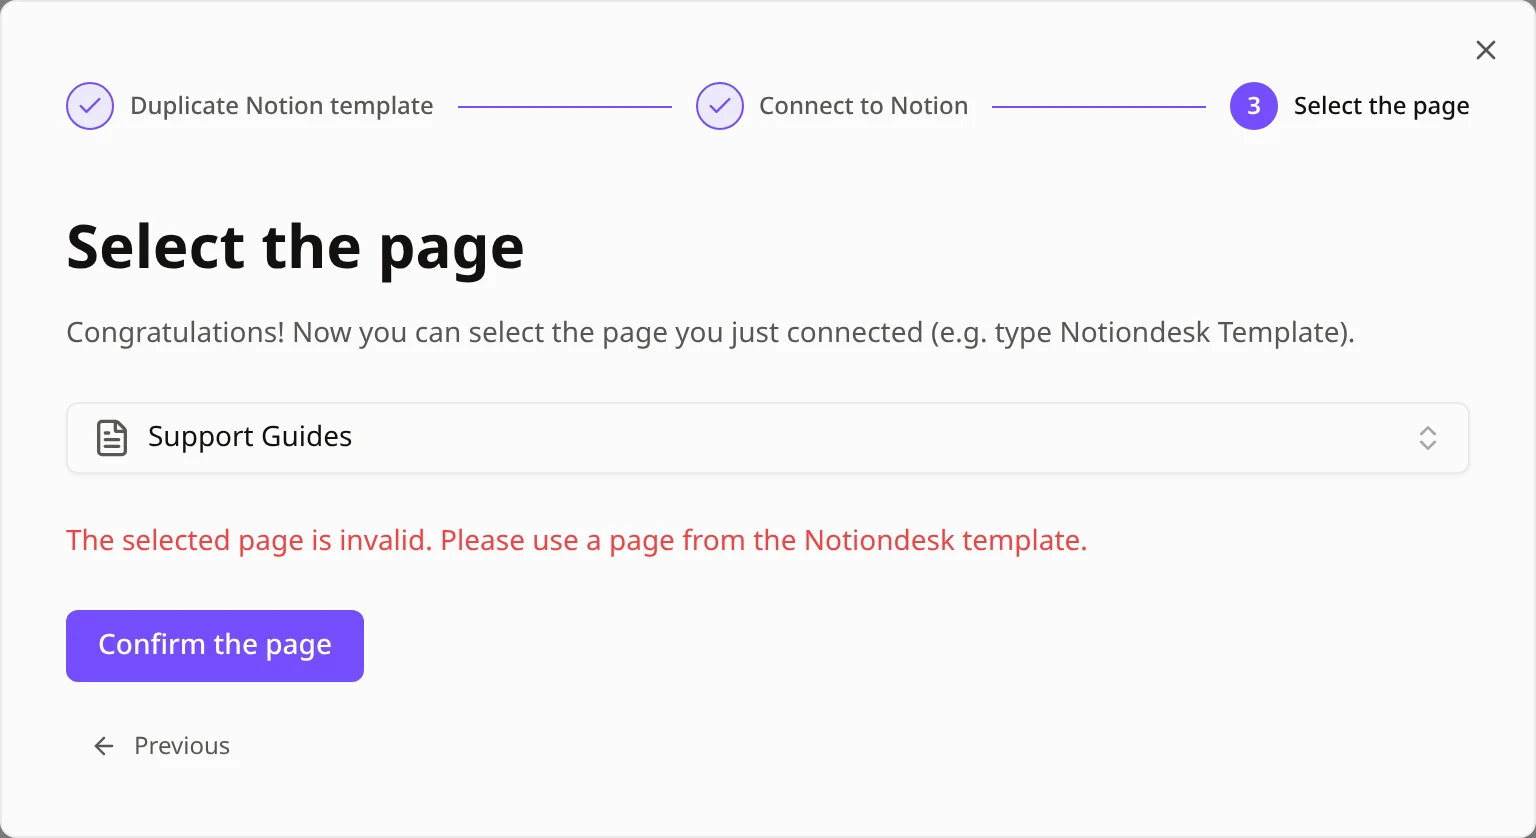
This message appears when the page you picked isn't the template's root page, for example the Articles database, a collection or a page from another part of your workspace.
- Open the Notion page field again.
- Select the top template page, usually Notiondesk Template.
- Click Confirm the page.
The template doesn't show up in the page list
"Can't find the page? Make sure it is shared with Notiondesk."
The list only shows the pages you shared on Notion's access screen. If the template is missing, it wasn't checked in Step 2, or it lives in another workspace.
- Click Previous and run Connect Notion page again.
- Select the workspace that contains the template.
- Check the template page and click Allow access.
If you see "The selected page is invalid. Make sure it is shared with Notiondesk and try again.", the fix is the same: share the page with Notiondesk, then select it again.
The wrong Notion workspace or account is connected
Notion shows the workspaces of the account you're logged into. If the template isn't there, log into the right Notion account in your browser, then click Connect Notion page again and pick the workspace where you duplicated the template.
The connection didn't go through
"Unable to connect to Notion. Please check that you have authorized Notiondesk."
This happens when Notion's access screen is closed before you click Allow access. Click Connect Notion page again and finish the steps in Notion.
The Notion template won't duplicate
"An error occurred while downloading the template. Please try again."
- Go back to Duplicate our Notion template and click Duplicate Notion template again.
- Make sure you're logged into the right Notion account.
- Already duplicated it but can't find it? Search for "Notiondesk Template" in your Notion workspace or check your sidebar.
Notion sync shows "Reconnect Notion before syncing again."
"Access to your Notion workspace was revoked. Go to Settings and reconnect Notion."
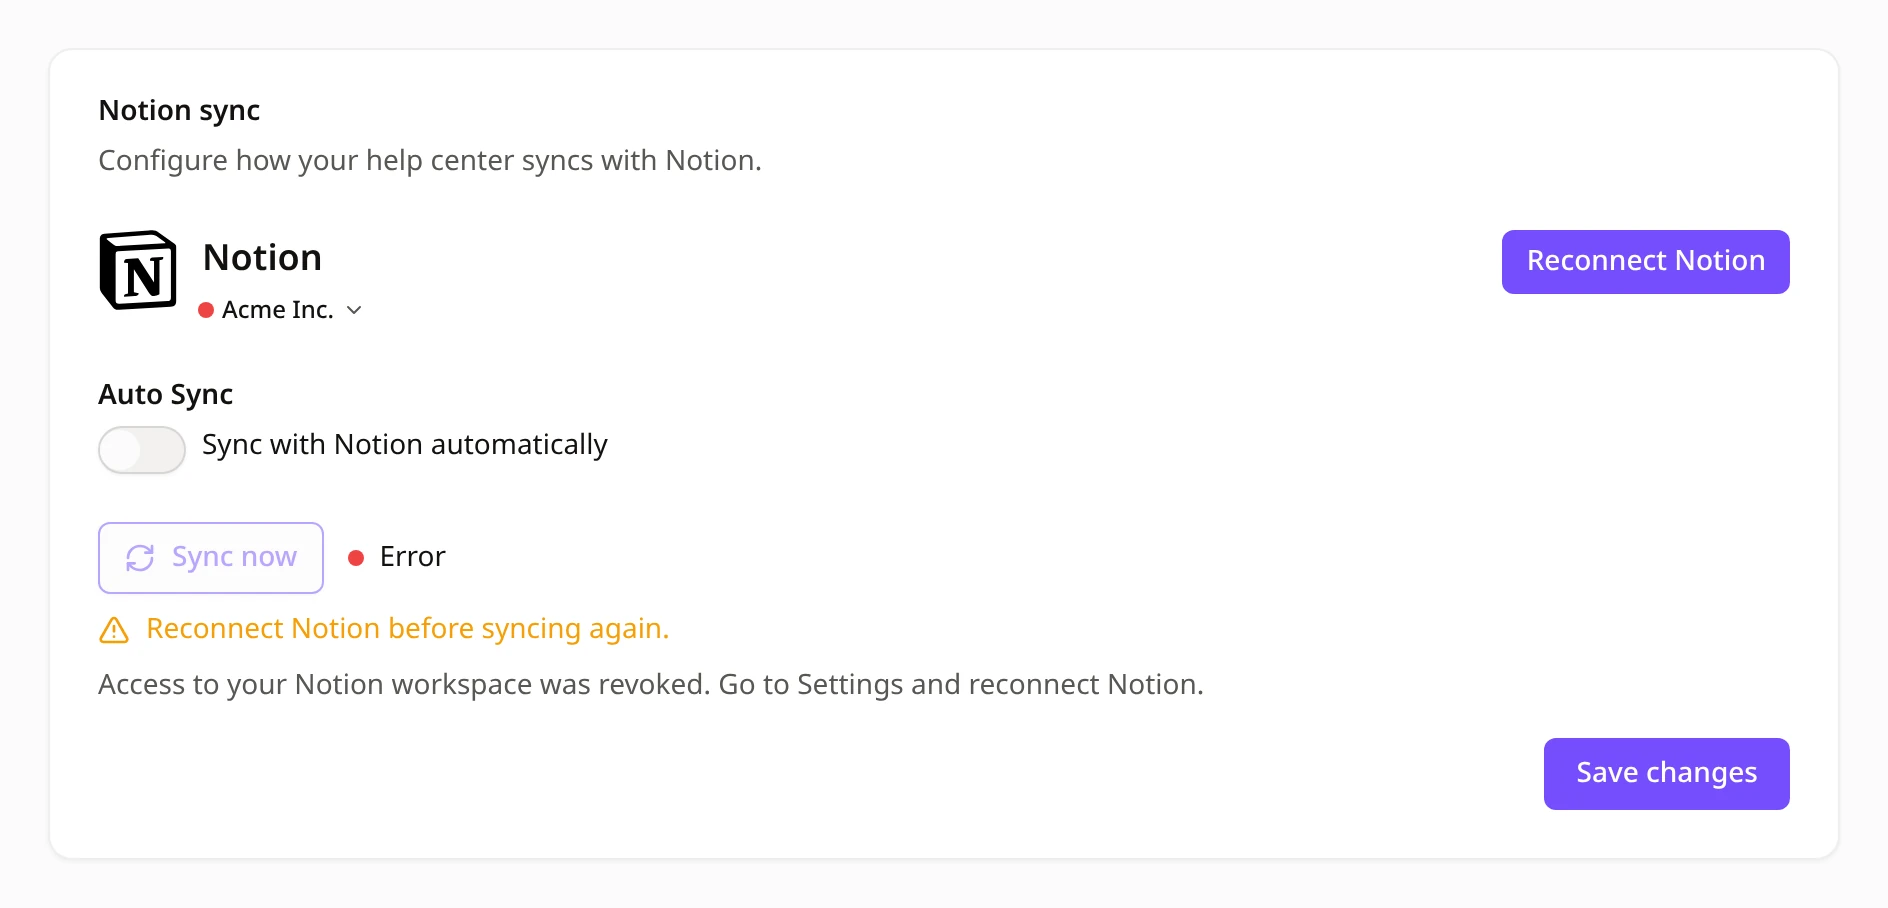
This shows up when access to the page is removed in Notion, for example after someone changes the page's connections. Syncing is paused until you reconnect.
- In your dashboard, open Settings, go to the Notion sync section and click Reconnect Notion.
- Select the Notion workspace that contains your help center.
- Make sure the help center page is selected for Notiondesk.
- Click Allow access.
- Back in Notiondesk, choose the page Notiondesk should sync from and click Confirm page.
Syncing fails after editing the template
"Please check that your Notion template is correct."
Your help center relies on the structure of the template. Renaming or removing the Articles, Collections or Languages databases, or their properties, can stop the sync. Restore the original names, then sync again. Your article and collection titles and content stay yours to change freely.