Setting view permissions for articles based on user roles is an essential aspect of creating a secure and well-organized knowledge base or help center for your customers.
Notiondesk provides users with the ability to create custom view permissions for articles in the Articles database, and this article will guide you through the process of setting them up.
Step 1: Defining the "Visible to" Property
To enable custom view permissions, you must first define the "Visible to" property for each article. By default, all articles are visible to everyone who visits your help center. However, with custom view permissions, you can limit access to specific users based on their role or other criteria.
The "Visible to" property is a Multi-select option on Notion, which means you can add as many options as you need to meet your specific needs. For example, you could create view permissions for "Enterprise," "Premium student," and "Basic" users.
Step 2: Synchronizing Your Notion Workspace
Once you've defined the view permissions for each article, you'll need to synchronize your Notion workspace. Synchronizing ensures that the view permissions are applied to your help center and that users are restricted from viewing content they shouldn't have access to.
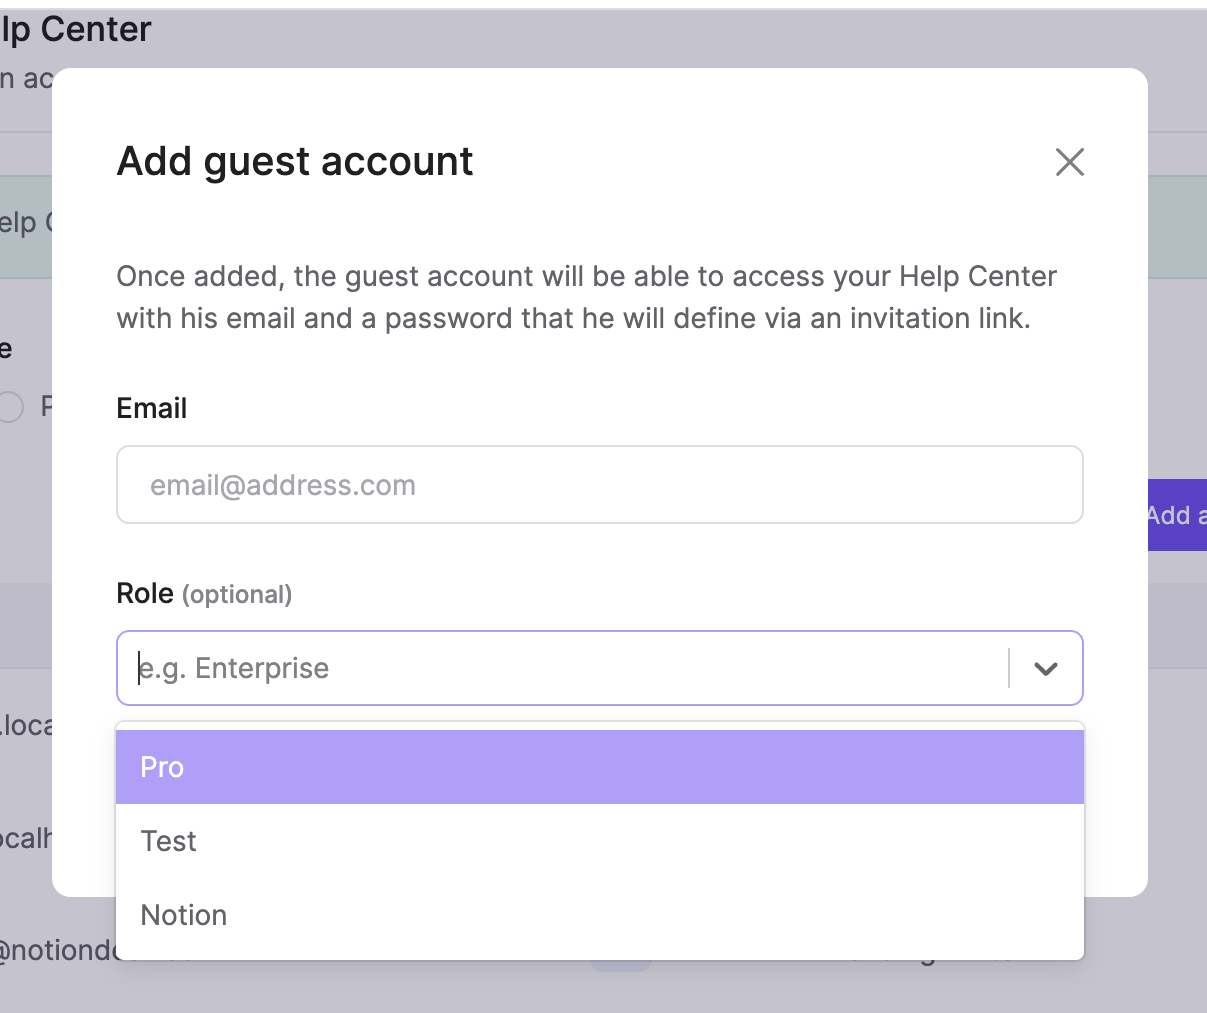
Step 3: Creating or Editing a Guest Account with a Role
Now that you've set up custom view permissions for your articles and synchronized your Notion workspace, it's time to create or edit a guest account with a role. A guest account is an account that has limited access to your help center and can only view content that you've given them permission to see.