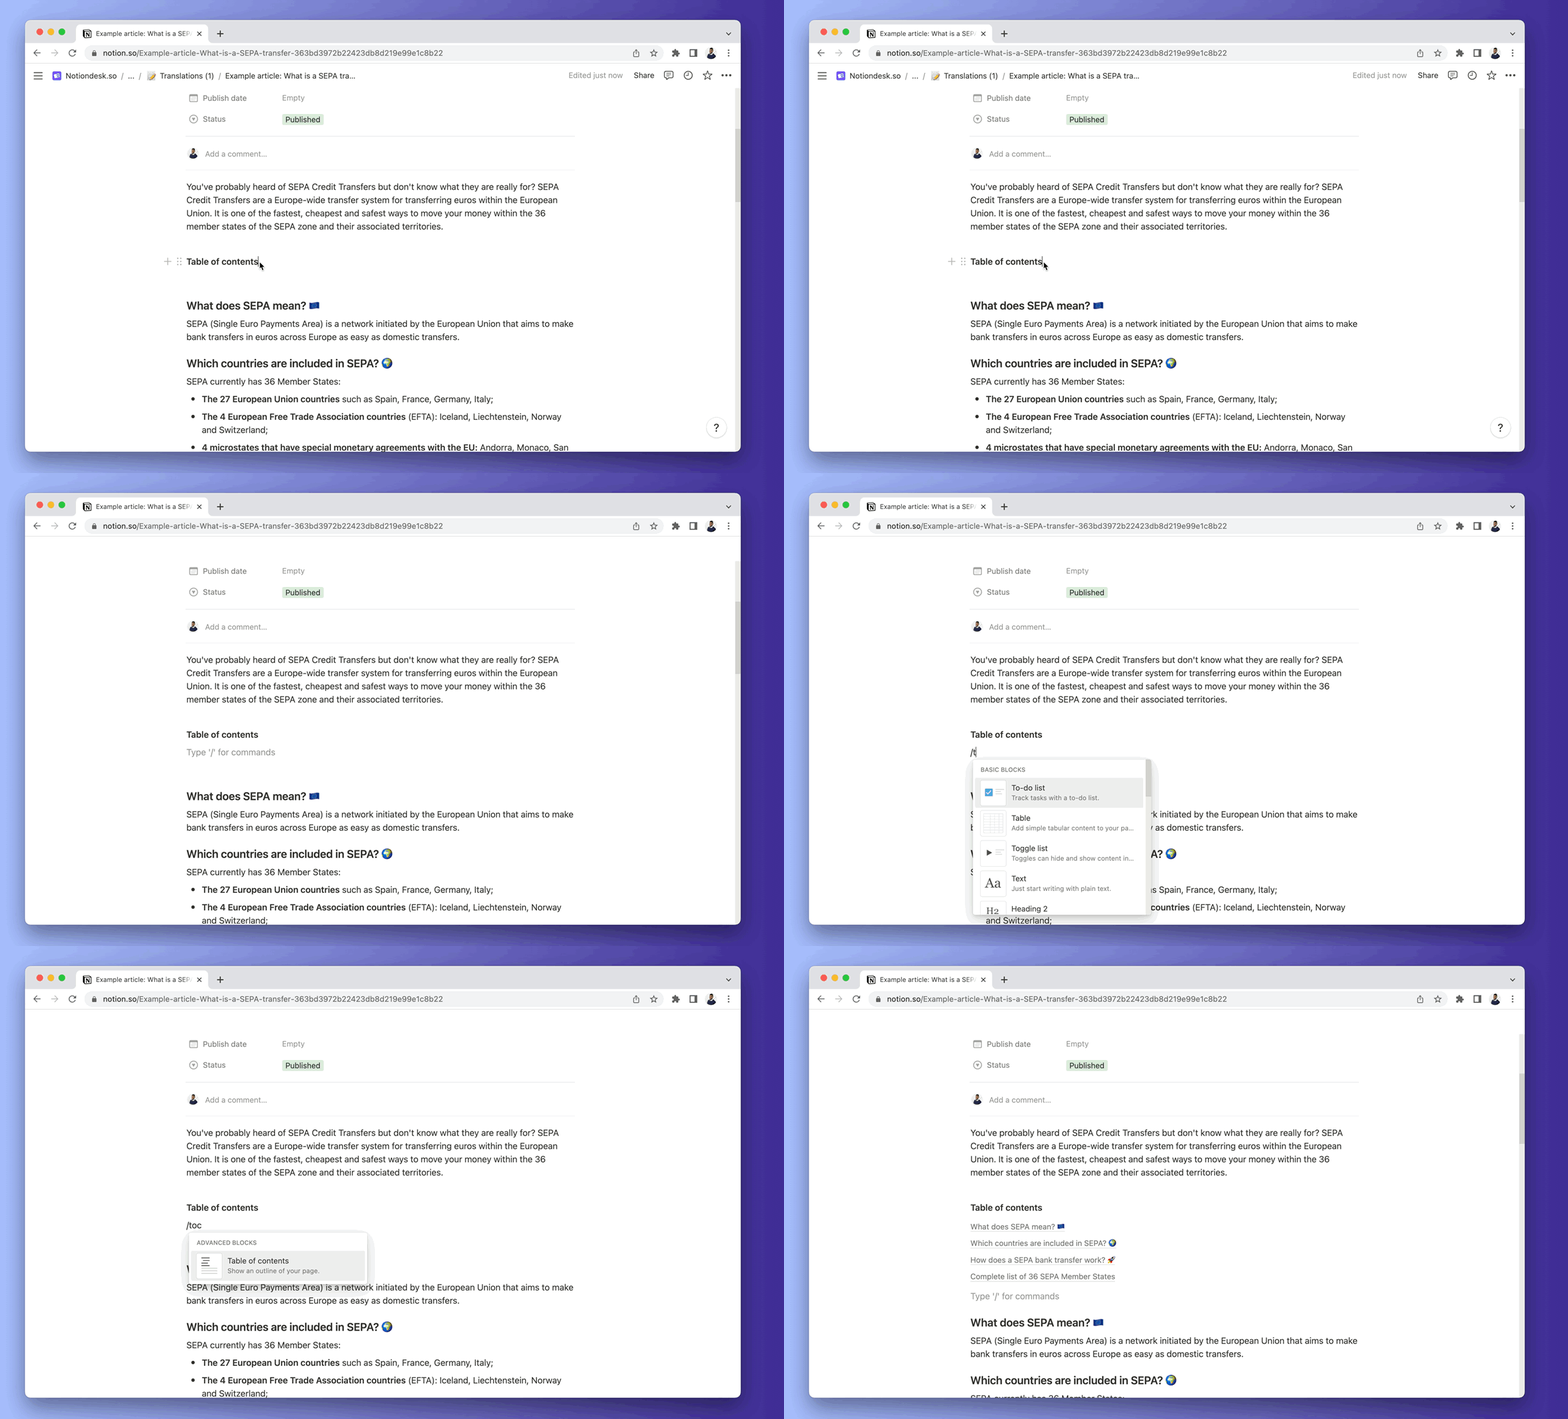
To make it easier for your customers to navigate the content of your Help Center articles, you can include a table of contents.
You can do this with the support of the block "Table of contents" in Notion. Let's see how to create a table of contents and how to use it in your articles.
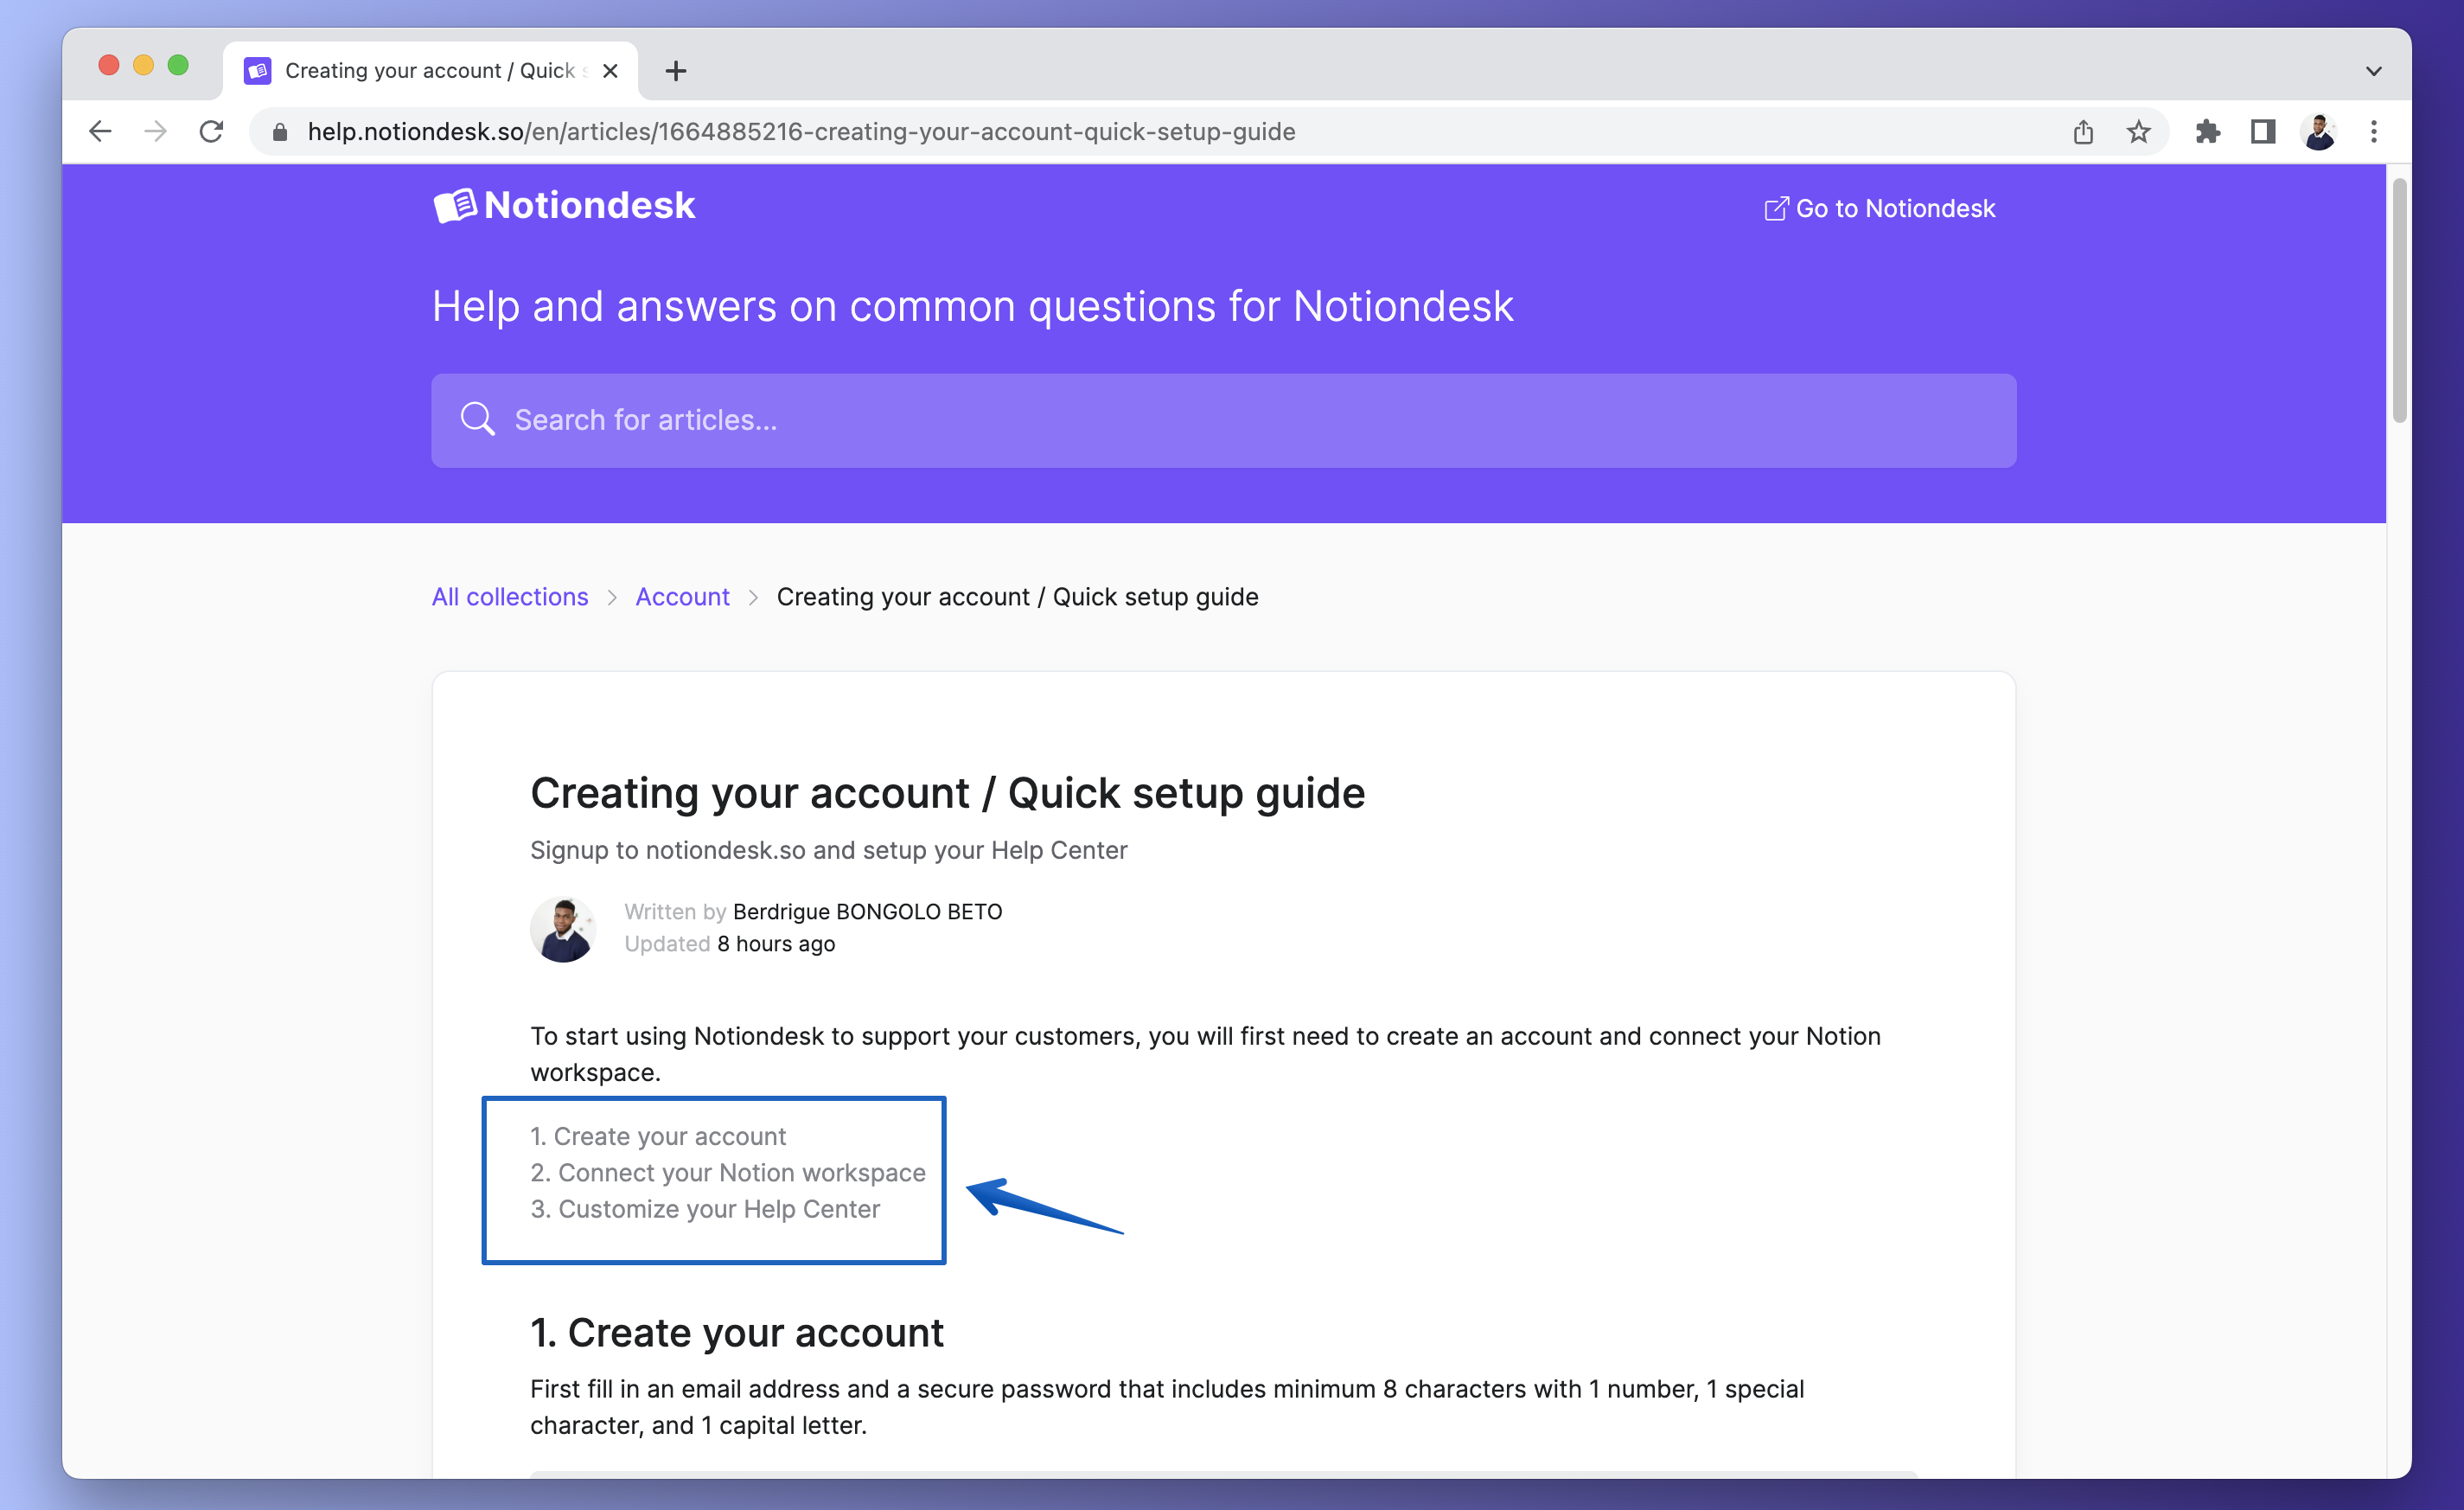
Table of contents 👇
- Structure your article with headings
- Add a table of content to your articles
- Navigate to an article section
- What’s next?
Structure your article with headings
Before adding the table of contents, make sure your article is structured using headings and sub-headings block in Notion, like H1, H2, and H3.
In this way, when you add a table of content, it will automatically be generated from the headings in your article.
Add a table of content to your articles
When editing an article, you can add a table of contents. To do this:
- Start typing
/table ofto see theTable of Contentsoption in Advanced Blocks. Press enter when it's selected.
- This generates a table of contents showing all your article headings.

Navigate to an article section
On your help center articles, when you have a table of contents, you can navigate to a specific section using the TOC. Click on any heading in your table of contents, and it will take you to that section of the article.
