The "Review" status allows you to make edits to articles that won't immediately reflect on your live help center. This status is ideal for preparing updates that align with future releases or events, giving you the flexibility to go live only when you are ready.
This guide will walk you through setting articles to "Review" status, and sync them only when ready!
Changing article status to "Review"
If "Review" isn't already an option in your Notion database's status property, you can easily add it.
- Open the Notion database where your articles are stored.
- Click on the 'Status' property column in any article.
- Type "Review" and select a color for the new status.
- Choose "Create
Review"
Now, to change the status of an article to "Review":
- Select the Article you want to edit.
- Click on the 'Status' property within the article.
- Select "Review" from the options list.
Syncing articles with "Review" status
After setting your article's status to "Review", the changes remain local to Notion until you decide to publish them. To sync those changes:
- Go to your Notiondesk Dashboard.
- Click the "Sync Now" button to update your help center.
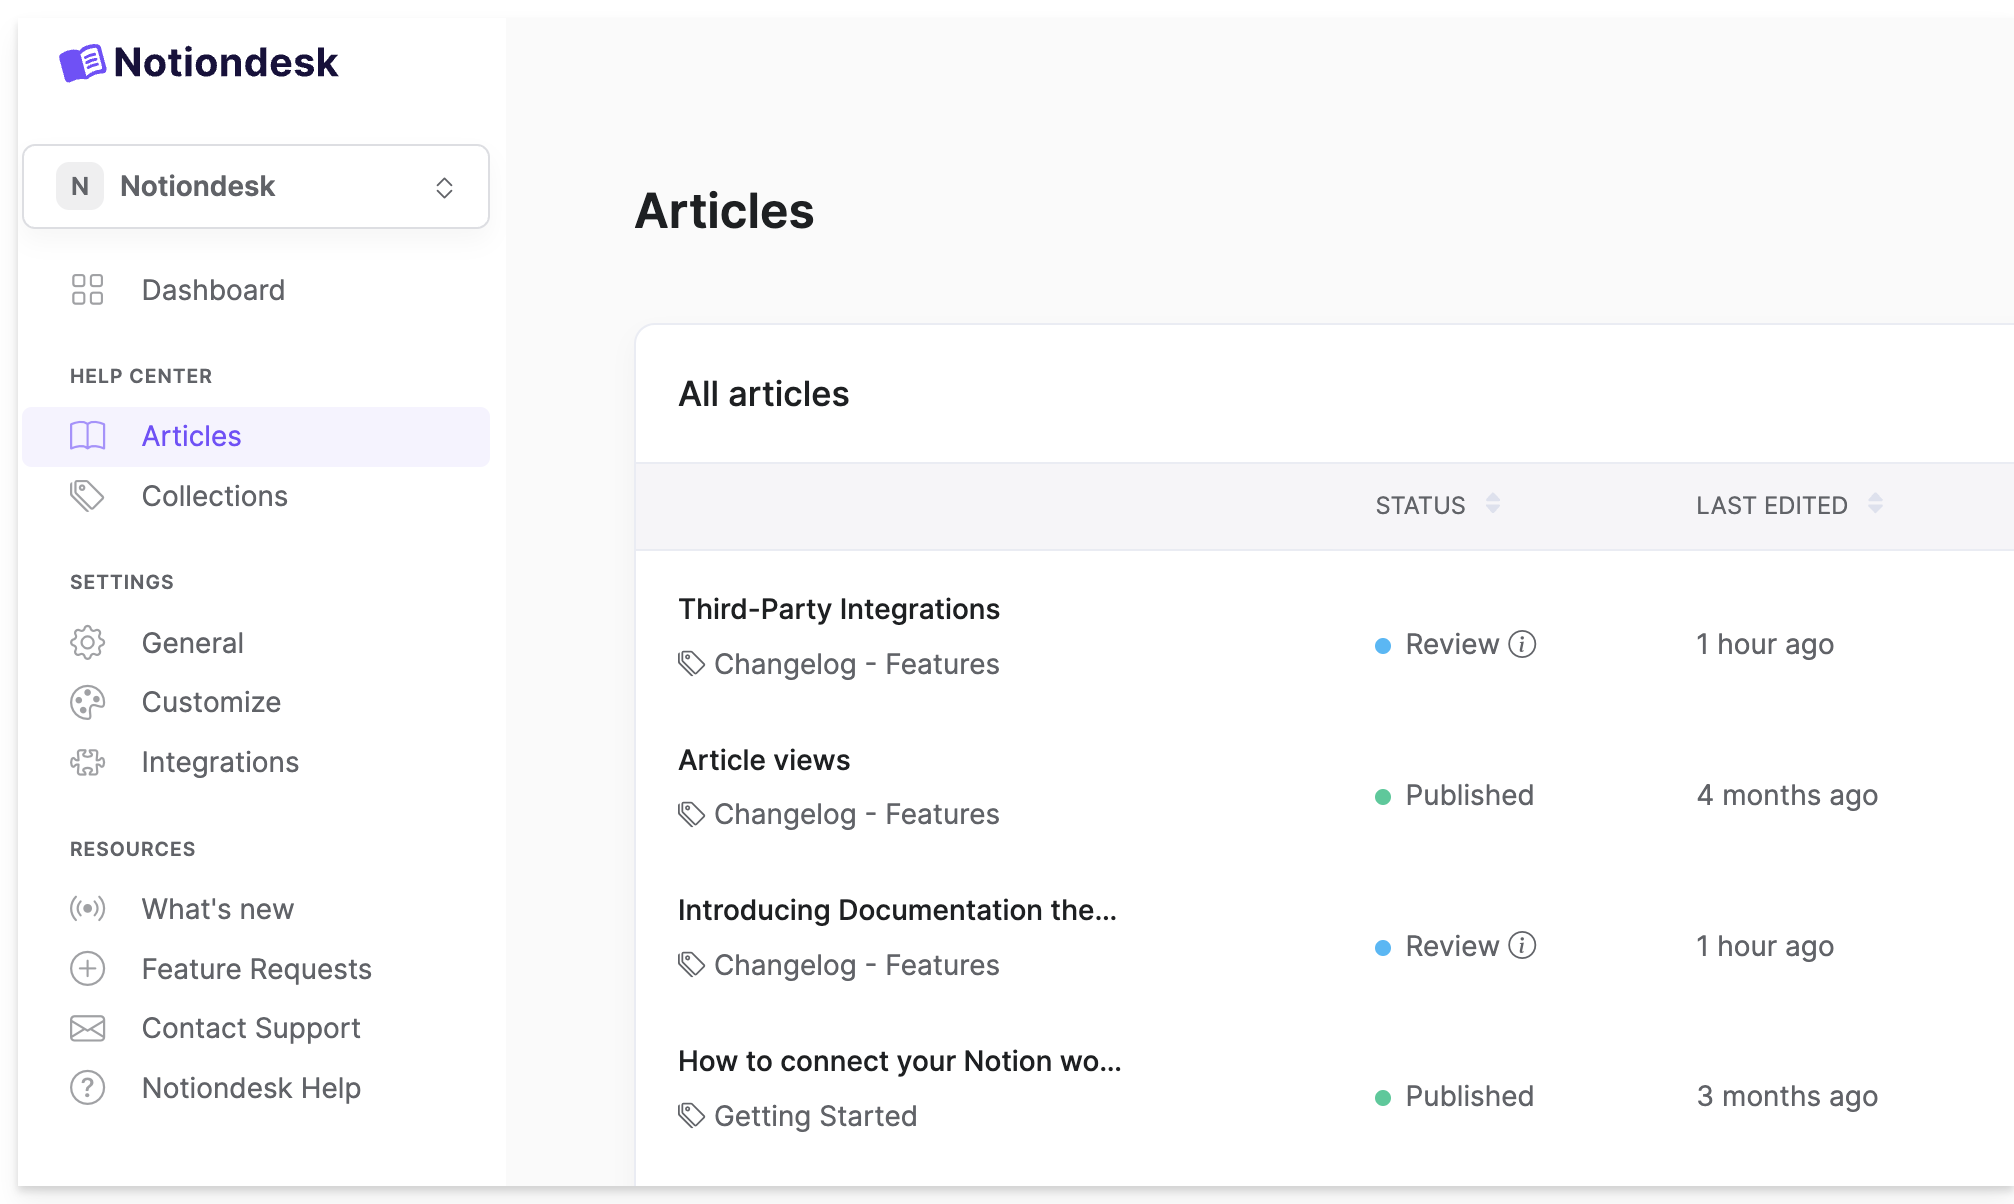
Once synced, it’s helpful to see which articles are set to "Review".
- In your Notiondesk dashboard, view the list of articles.
- Articles marked as "Review" should be visibly different in status color and label.
Publishing your changes
When you decide that an article is ready to be published:
- In the Notion database, change the article's status from "Review" to "Published."
- Go to your Notiondesk dashboard and press "Sync Now" to update your help center.
And that's it! The "Review" status helps you edit content and publish it only when everything is perfectly aligned with your timeline.